Add or Change Page Featured Image
On all pages, a featured image can be set to display at the top of the pages, events, ministries, announcements and resources articles. You can drag & drop your image onto this spot, or use the “Browse” link to find the image you want to upload.

Minimum Image Size
The minimum width for uploading a featured image is 1200 pixels wide and 300 pixels tall.
Set a Focal Point
You can set the focus point by clicking on the pencil icon inside the thumbnail of the uploaded image. This will open up the focus point editor. Set your cursor over the left-most “original” image, click and drag the little circle to set the focus points.

You can also set the image’s “alt text” – a description of the image so those with visual impairments can use screen readers to know what the image description is.

Click the “Save” button to commit and save your changes.
Tips
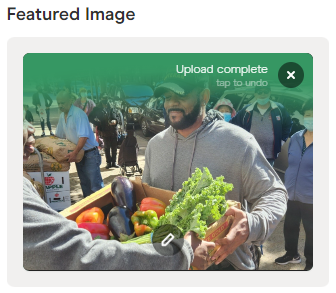
- Make sure you get the "Upload complete" complete with a green background to confirm that your image uploaded fully.
- The Feature Image automatically crops your image to fit the standard frame. If you are trying to use a flyer with details (like an Event flyer with schedules and time for example), the Feature Image is not the best place to put it. Rather, we suggest you use a generic stock image as your Feature Image, and then insert your flyer with details using the Quick Insert tool in the content body of your Page.
- To achieve the highest quality thumbnail image, we recommend using photos in the landscape orientation with a 16:9 aspect ratio
- See our Knowledge Base Article on Choosing Engaging Photos to enhance your website experience.