Add a Custom Page to the Site Navigation
How to add a custom page to your site navigation through Navs
Many of you have existing custom pages which you should see under Navs > About. Previously, custom pages created under "About" were displayed as sub menu items on the home page (unless you chose to hide them) while custom pages not created under "About" were not displayed on the menu at all.
The new update now allows you to display custom pages on the site navigation regardless of where they are created under "Pages". If you create a new custom page under "About", it will automatically be displayed in the site menu. Otherwise, you will need to manually add the page to Navs for it to appear on your site menu.
Quick Recap: How to create a custom page
- Click on "Pages" on the admin side menu
- Click the blue "New page" button at the top
- Add a page title and content
- Click "Publish Settings". Add a Featured Image and enter a custom URL right below that, if desired.
- Important: Under "Page Template", select "Basic Page".
- Publish!
How to add a custom page to the menu through Navs
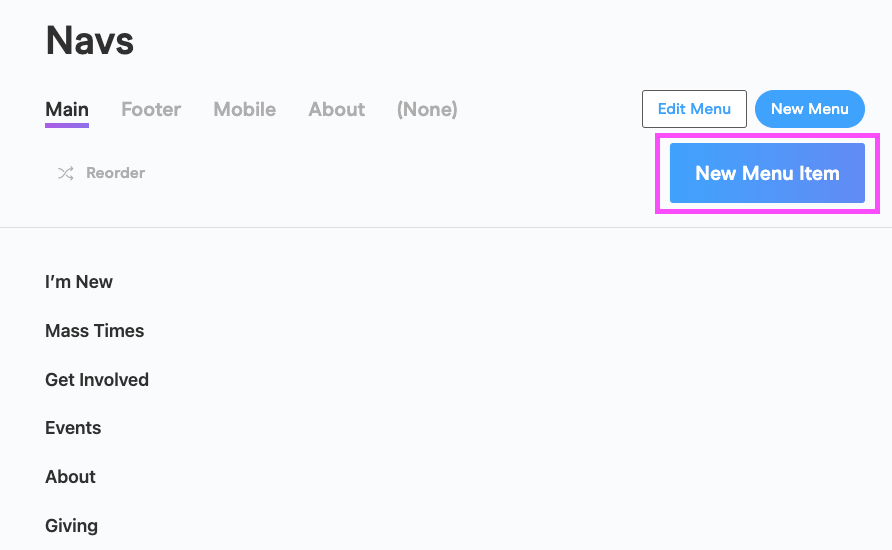
Click on "Navs" on the admin side menu

Click the blue "New Menu Item" button on the top right
- Add a page title. In this example, my title is "History".
Under "Assign to Page", choose which page you would like added. In this example, I selected the "History" page that I previously made.
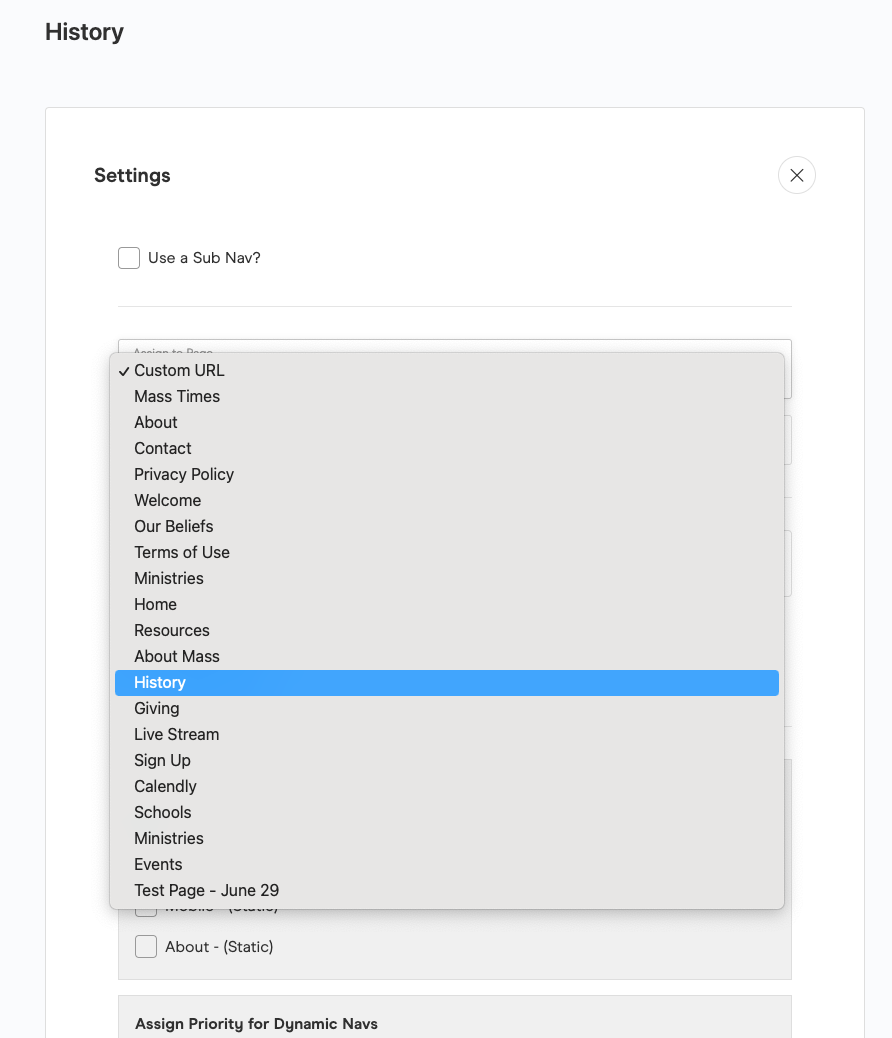
- If you do not see your page under the dropdown, for example, "Sacraments", select "Custom URL" paste the URL of the Sacraments page.


6. Under "Assign to Nav", check the navigation menus under which you want your custom page to appear. In this example, I want my History page to appear under the About sub-nav.

7. Hit "Publish", and you're done!